Ready to mod your keyboard? Our tutorials walk you through every popular modification with clear photos, tool lists and safety tips. Whether you want a quieter board, a deeper sound or smoother switches, we show you exactly how to get there.
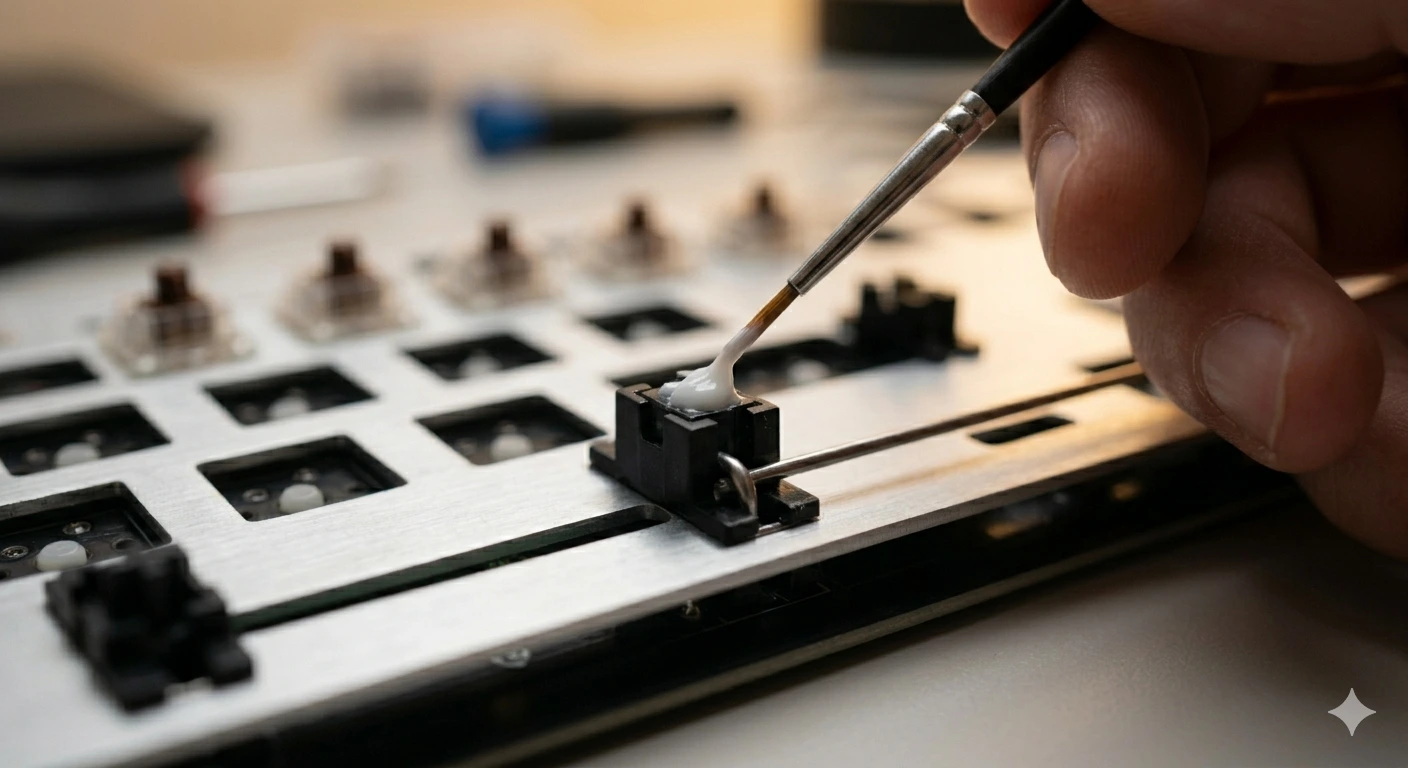
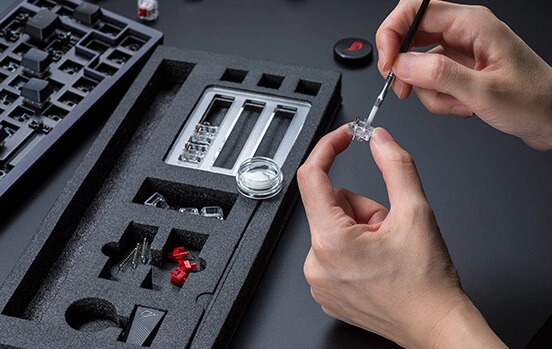
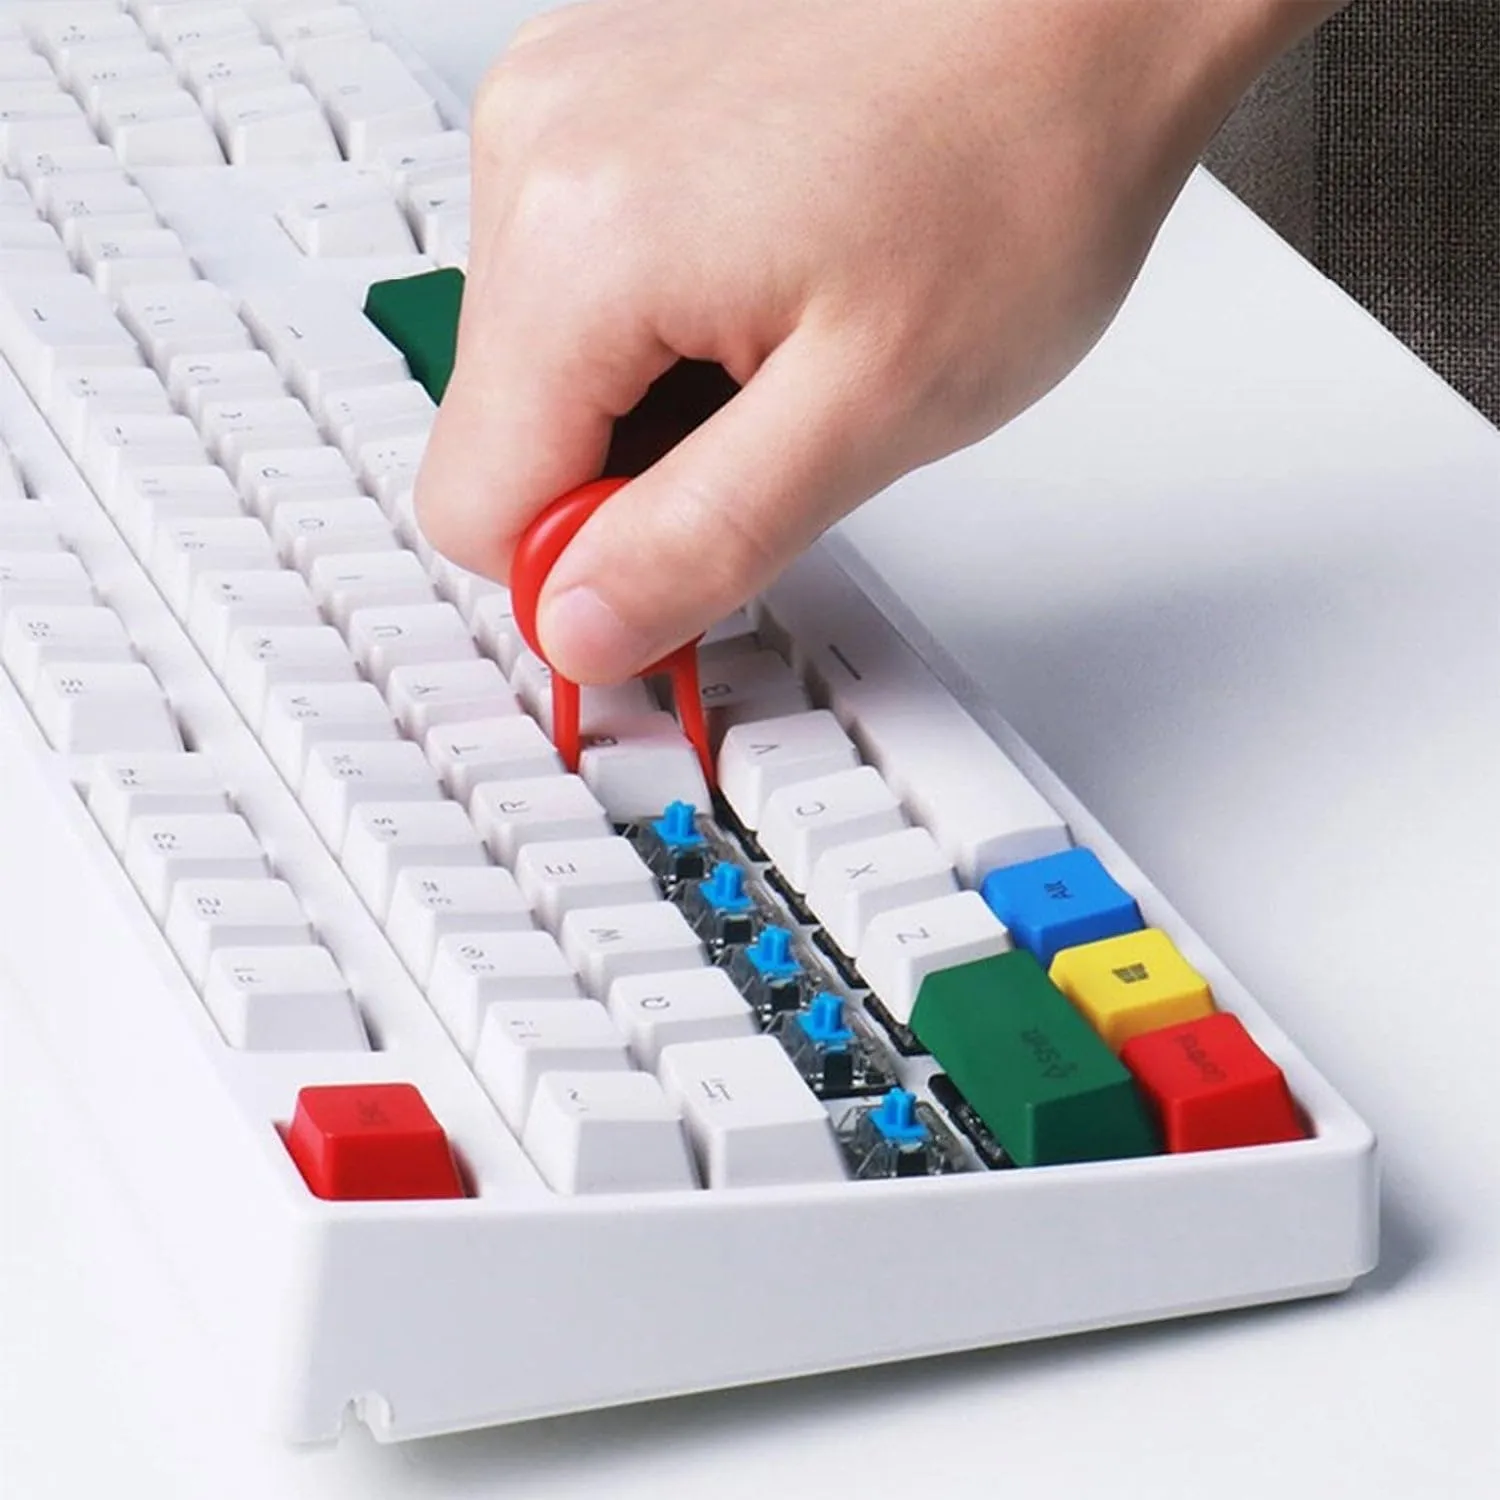
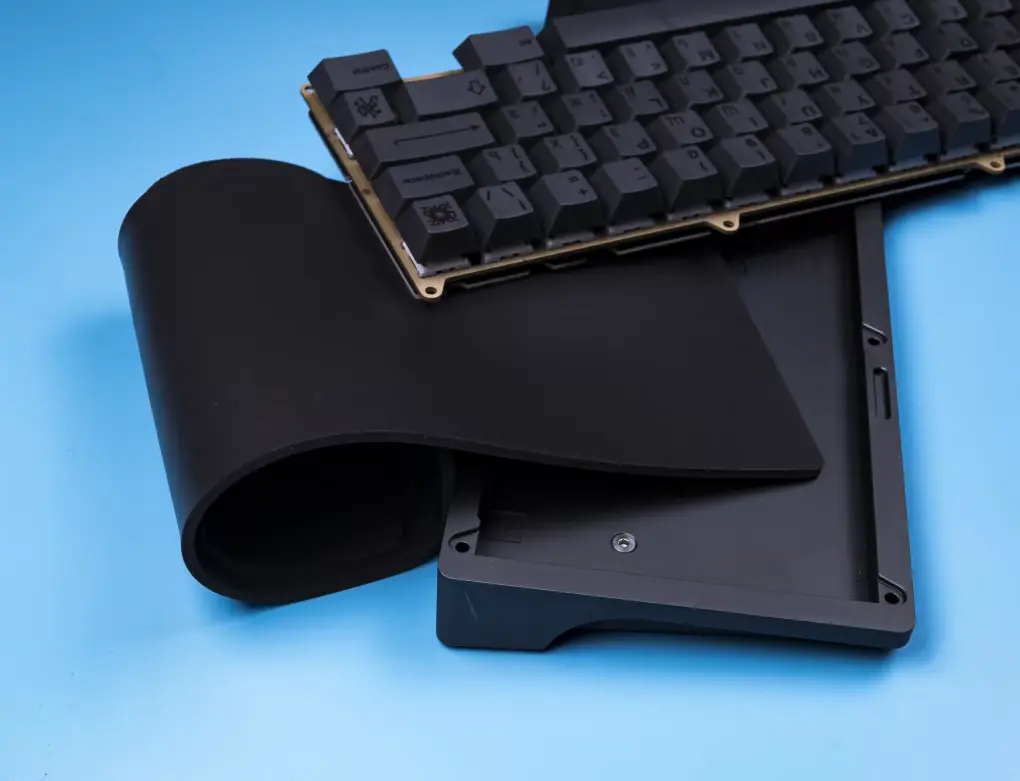
We cover switch lubing, tape mod, foam mod, stabilizer tuning, switch filming, band-aid mod and more. Each guide is written for first-timers but includes pro tips for experienced builders who want to refine their technique.
Start with the beginner mods below and work your way up to advanced techniques. Every tutorial includes a tools list, estimated time and difficulty rating so you know what you are getting into before you open your case.
Frequently Asked Questions
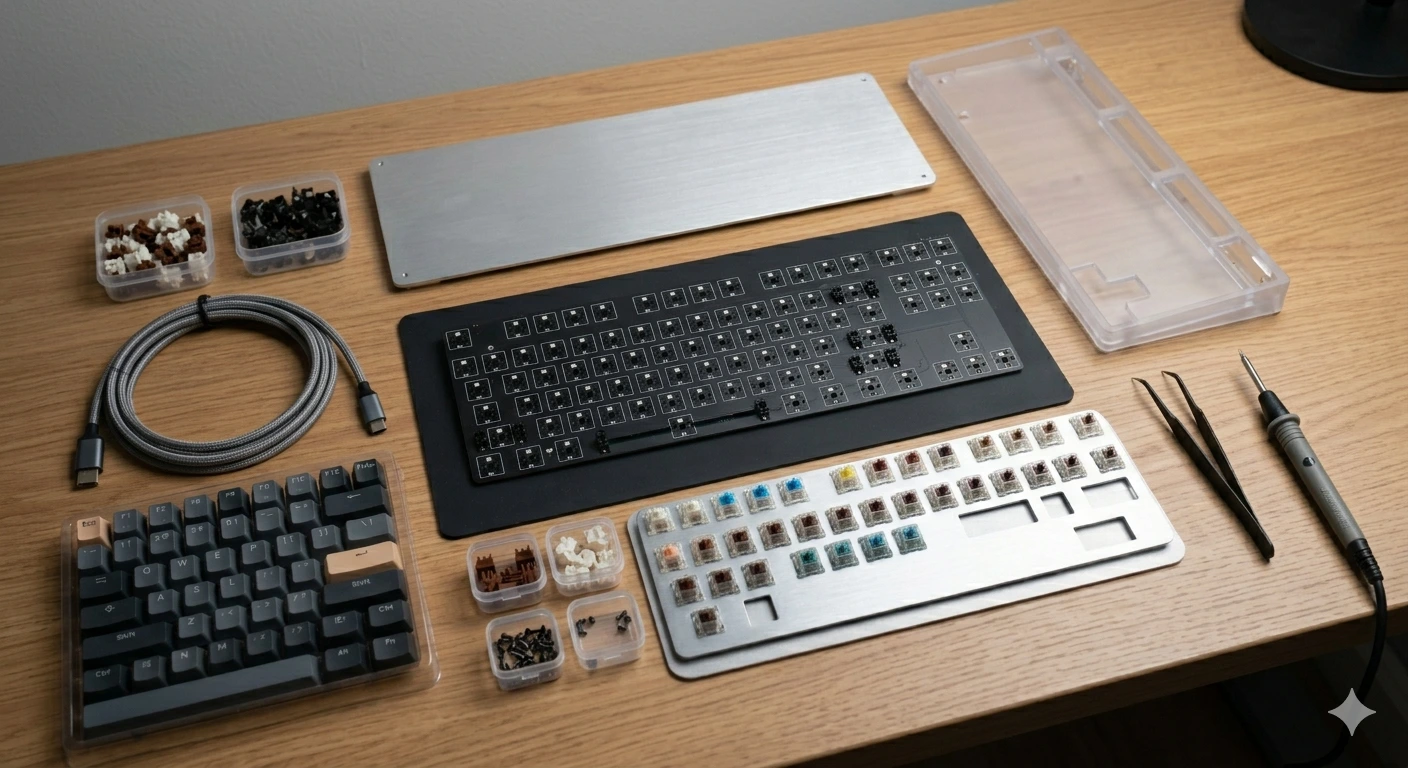
No. Most beginner mods — lubing, tape mod, foam mod, stabilizer tuning — work on hot-swap keyboards without any soldering. Only switch replacement on soldered boards requires a soldering iron.
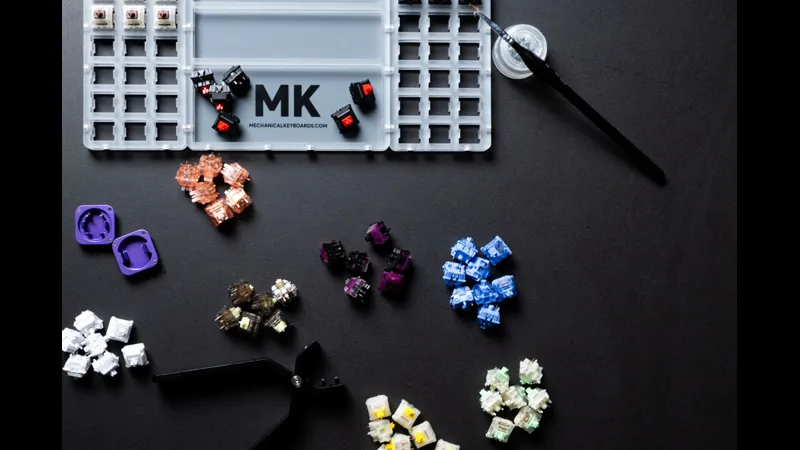
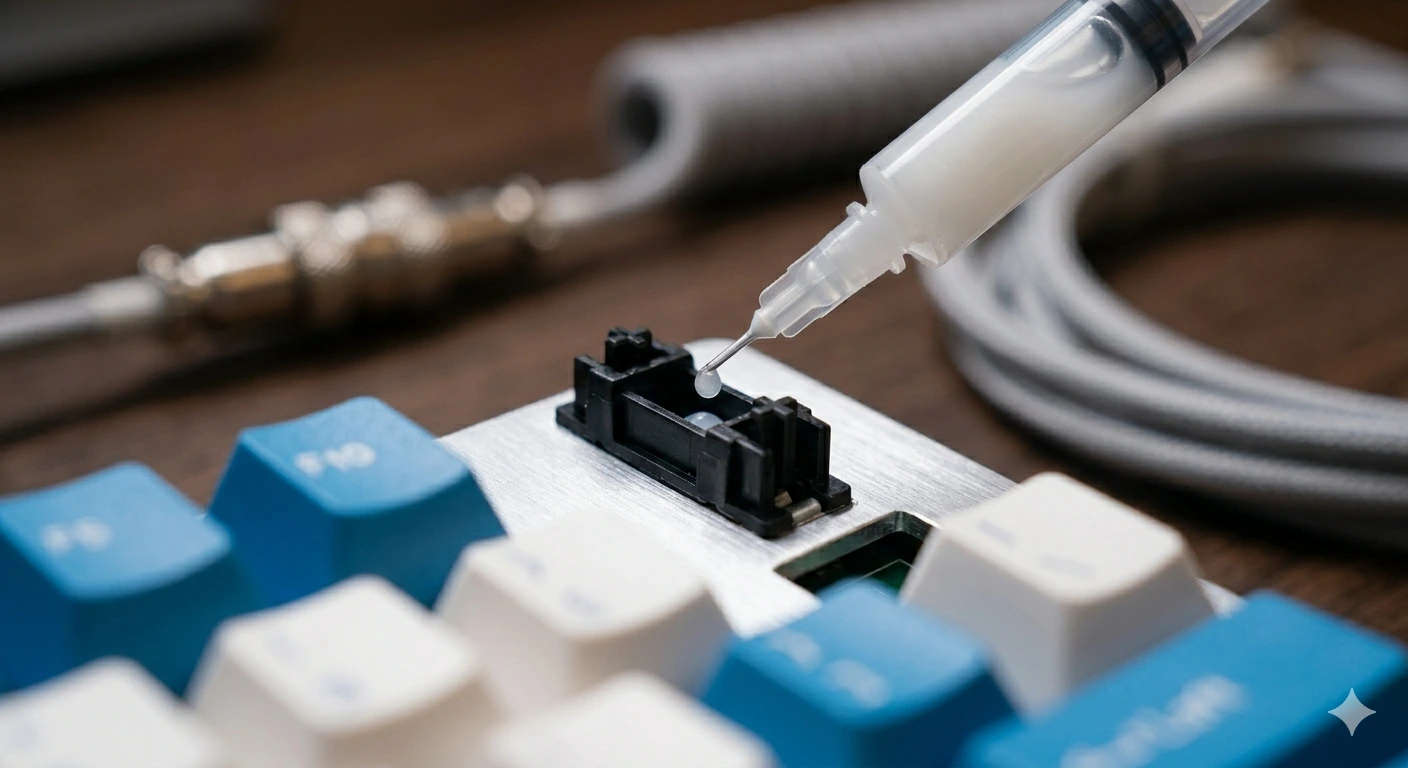
You need a switch opener, a fine brush (size 0 or 00), Krytox 205g0 for switches and dielectric grease for stabilizers. A switch holder and tweezers also help. Total cost is usually under $25.
Yes. The tape mod (layering painter's tape under the PCB) is fully reversible and carries no risk of electrical damage. Just avoid conductive tape or adhesive that leaves residue.
A simple foam or tape mod takes 15–30 minutes. Lubing all switches takes 2–4 hours depending on your speed. Plan a weekend afternoon for your first full build.
Most mods are low-risk, but improper lubing, over-tightening screws or bending pins during switch insertion can cause damage. Follow our step-by-step guides and work slowly to avoid common mistakes.